

Mini Excavator for Fence Installation: How to Dig Post Holes Faster and Easier
Installing a fence can be a demanding job, especially when you need to dig dozens of post holes through compacted soil, clay, roots, or rocky ground. Digging every hole by hand takes time and can quickly become physically exhausting.
For a small number of fence posts, manual digging may be practical. However, as the number of posts increases—or when the soil becomes hard, rocky, or root-filled—a mini excavator can significantly reduce the amount of manual work involved. A hydraulic auger is designed to drill holes with consistent diameter and depth, making it well suited for fence posts and other ground-penetrating applications.
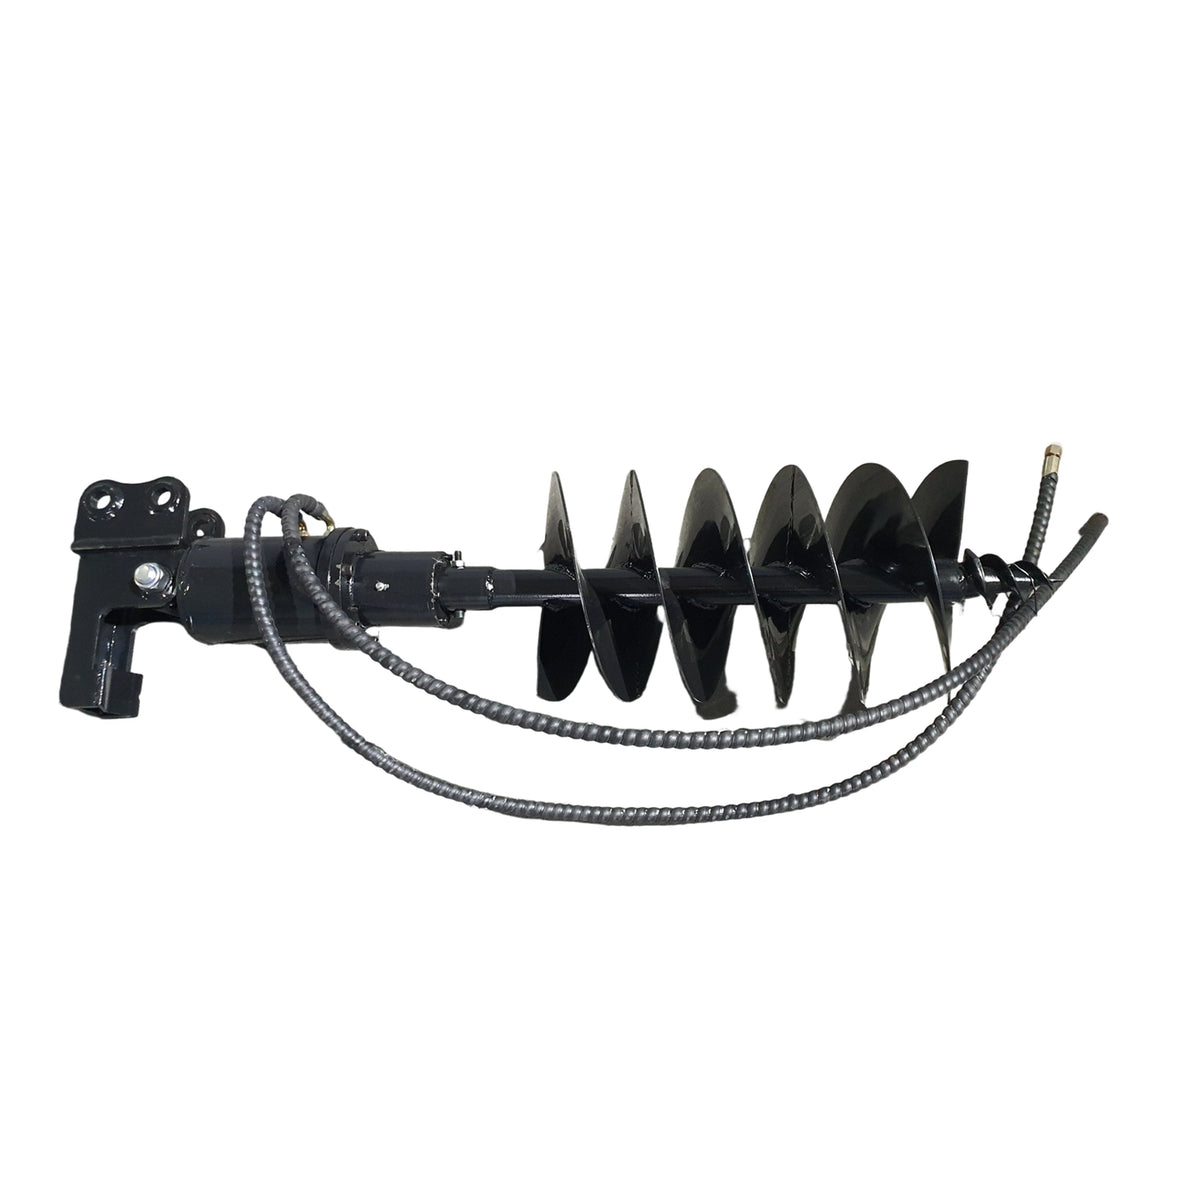
A mini excavator equipped with a hydraulic auger attachment can make the job faster, more consistent, and easier to manage. The excavator provides hydraulic power for drilling while its compact size allows it to work in residential yards, farms, landscaping projects, and other areas where larger construction equipment may not fit.
Why Use a Mini Excavator for Fence Installation?
- Faster post-hole drilling – Hydraulic power makes repetitive drilling much more efficient.
- Consistent hole dimensions – An appropriately sized auger helps create uniform holes along the fence line.
- Less physical labor – The excavator handles the drilling force instead of relying entirely on manual digging.
- Better access to confined areas – Compact excavators can work in spaces where larger equipment may not fit.
- Adaptable to different soil conditions – Different auger bits and teeth can be selected for soft soil, compacted ground, roots, or rocky conditions.
Choose the Right Mini Excavator and Auger Attachment
Before starting the project, make sure the excavator and auger are compatible.
The machine needs sufficient auxiliary hydraulic flow and pressure for the selected auger drive. The mounting system must also match the excavator and attachment.
The auger bit is particularly important because its diameter determines the approximate size of the hole. Manufacturers recommend matching the bit to the application, soil conditions, and required hole dimensions rather than simply choosing the largest available bit.
Plan and Mark the Fence Line
Good fence installation starts before the excavator begins drilling.
First, determine the fence layout and mark the location of every post.
Use stakes, marking paint, or another visible method to identify:
- Corner posts
- Gate posts
- End posts
- Line posts
- Changes in fence direction
Measure the spacing between posts carefully so the fence panels, rails, or wire will fit correctly. This is one of the most important steps in the entire project.
Position the Mini Excavator
Once the fence line has been marked, position the excavator so the boom and auger can reach the marked location without repeatedly repositioning the machine.
- Park the excavator on stable, level ground.
- Align the machine with the fence line.
- Position the boom over the marked post location.
- Keep the auger as vertical as possible.
- Confirm that people and obstacles are clear of the work area.
Correct positioning helps produce straighter holes and reduces unnecessary machine movement.
A mini excavator is particularly useful here because its boom and hydraulic controls allow the operator to position the auger accurately without moving the entire machine for every adjustment.
Connect the Auger and Hydraulic Lines
Before operating the auger, install the attachment according to the excavator and auger manufacturer's instructions.
Make sure the hydraulic hoses are properly connected and protected from sharp edges or pinch points.
Do not operate an attachment if the hydraulic connections, mounting system, or safety controls are not properly installed.
Start Drilling the Fence Post Hole
Once the auger is positioned over the marked location, begin rotating the bit and gradually lower it into the ground.
The basic process is:
Position → Start rotation → Lower gradually → Drill → Lift and clear spoil → Continue
Avoid forcing the auger aggressively into the ground. Allow the hydraulic system and cutting teeth to do the work.
For normal soil, steady downward pressure and controlled rotation can help maintain a straight hole.
For compacted clay, roots, or rocky ground, use a suitable auger configuration and avoid excessive down pressure that could cause the bit to bind.
Hydraulic augers are designed for different ground conditions, and manufacturers offer standard, heavy-duty, rock, and frost-oriented configurations depending on the application.
Clear the Soil as You Drill
One common mistake is trying to drill the entire hole without removing accumulated soil.
As the auger fills with material, periodically raise it while keeping the bit under controlled rotation to clear spoil from the hole.
The exact technique should follow the auger manufacturer's operating instructions, particularly when working in rocky or unstable ground.
Check the Hole Depth and Diameter
After reaching the required depth, stop and verify the hole. Make sure the hole meets the requirements of the fence design, local conditions, and post specifications. Confirm that the hole is large enough for the post and any required concrete or backfill. Make sure the hole is sufficiently straight and positioned correctly along the fence line.
A consistent series of holes makes the later installation process much easier and helps produce a cleaner-looking fence.
Install the Fence Posts
After drilling, place the fence post into the hole. For structural posts such as corners and gate posts, additional reinforcement may be required.
Before the concrete or backfill sets, check the post carefully for:
- Vertical alignment
- Correct height
- Correct spacing
- Proper orientation
A laser level, string line, level, or other layout tool can help maintain a consistent fence line.
Backfill and Finish the Fence Line
Once the posts are correctly positioned, backfill the holes according to the fence system's requirements.
If concrete is used, allow sufficient curing time before applying significant loads to the posts.
After the posts are secure, install the remaining fence components.
A mini excavator can also be useful after post installation for light grading and site cleanup.
Choosing the Right Auger Bit for Different Jobs
The correct bit size and configuration depend on the post dimensions, required hole size, soil conditions, and excavator hydraulic capability.
- Application: Typical Consideration
- Residential fence posts: Small to medium standard-earth auger
- Large wood posts: Larger diameter bit
- Corner or gate posts: Larger hole may be required depending on design
- Livestock fencing: Smaller diameter holes may be sufficient
- Rocky or root-filled soil: Rock-capable bit/teeth and higher-torque setup
- Deep structural posts: Appropriate bit plus extension if approved
There is no single auger size that works for every fence. The bit should be selected based on the actual post and installation requirements.
Mini Excavator Fence Installation: Common Mistakes to Avoid
1. Using the Wrong Auger Size
A bit that is too small may not provide enough room for the post and required backfill. An unnecessarily large bit can increase spoil volume and may not provide the desired post support.
2. Ignoring Hydraulic Compatibility
An auger must be matched to the excavator's auxiliary hydraulic flow and pressure. Always verify compatibility before purchasing an attachment.
3. Drilling Without Checking Utilities
Never assume an area is clear simply because there are no visible signs of utilities.
4. Drilling at an Angle
Poor machine positioning can result in angled holes, which may make post installation and fence alignment more difficult.
5. Skipping Daily Attachment Inspection
Worn teeth, damaged hoses, loose connections, or hydraulic leaks can reduce productiviy and create unnecessary safety risks.


